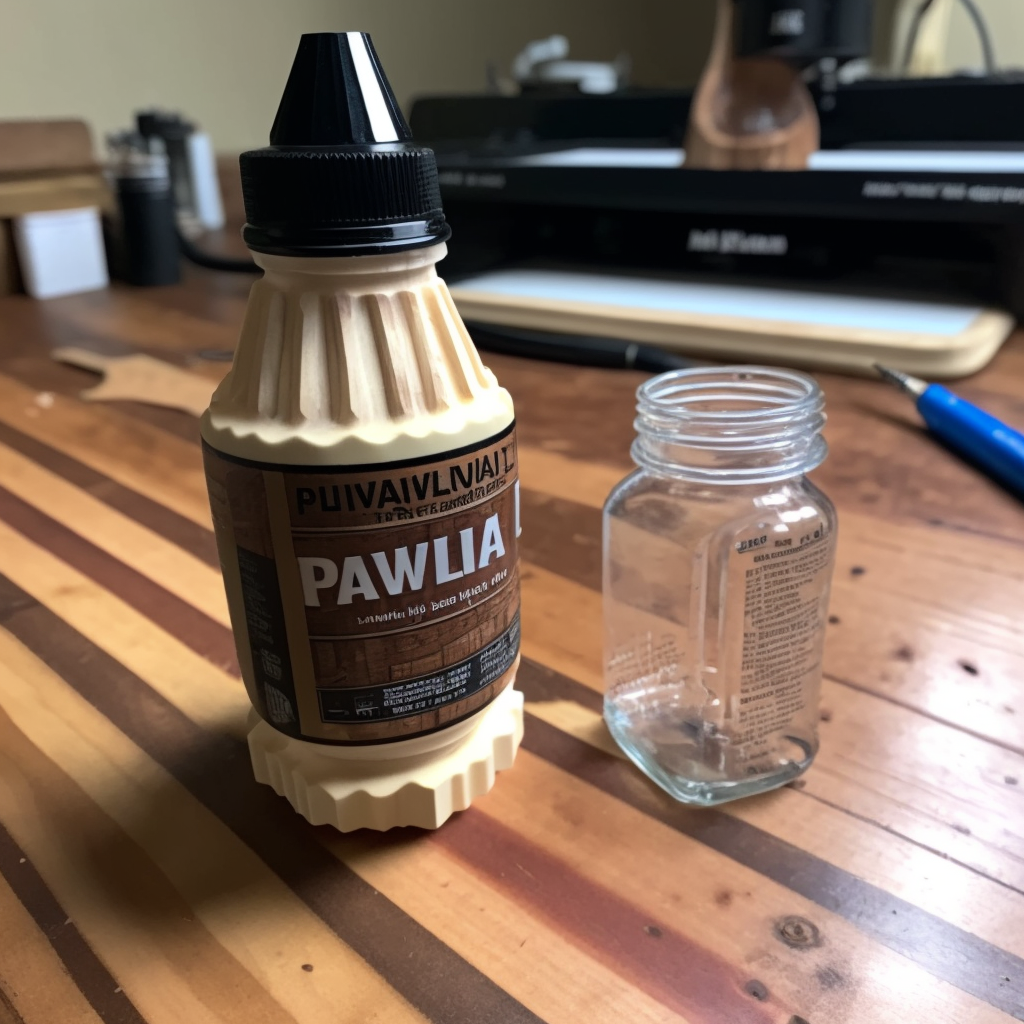
Wood Veneering Using Reactivated PVA Glue
Wood veneer adds a beautiful and natural touch to any DIY project or furniture piece but applying it can sometimes be a tricky if you don’t have a press or vacuum bag system.
The dried PVA glue process offers an excellent alternative way to attach the veneer to a substrate with no other tools than a household iron.
Here’s how to do it:
- Cut and sand your veneer to the desired size and shape. Make sure the surface of the piece you are covering is clean and free of any debris.
- Apply an even layer of PVA glue to the back of the veneer as well as onto the surface you are covering.
- Allow the glue to dry until it is not sticky to the touch anymore.
- Place the veneer onto the surface and align it correctly. Since the glue is dry at this point you can easily move the veneer around until aligned exactly where you need it.
- Use the iron to heat in one spot to start with, the dried PVA glue will soften and create a firm glue bond between the veneer sheet and the substrate as it cools back down. Normally it’s easiest to align the veneer to one corner and tack heat it there but every project is different.
- Then slowly iron over the whole sheet to reactivate the glue for the full sheet. Be especially thorough around corners and edges. Do not linger in one spot for too long as it could burn the veneer if the heat is too high. It can be helpful to use a roller over the area where you have heated up the glue, this helps with pushing the veneer down as well as taking some of the heat of the glue to make it bond quicker.
- Allow the glue to cool for several hours.
Using PVA glue and an iron to apply veneer not only provides a precise and controlled application, but it is also a cost-effective alternative to pre-glued veneer sheets.
Note: Always test your glue and heat setting on a scrap piece of veneer before starting your project to avoid any damage to your final piece.
